CSS
If you do not want to use SASS then you can directly change the style.css file or any other CSS file in the following folder. We suggest you not make any changes in the bootstrap or other CSS files in other directory.
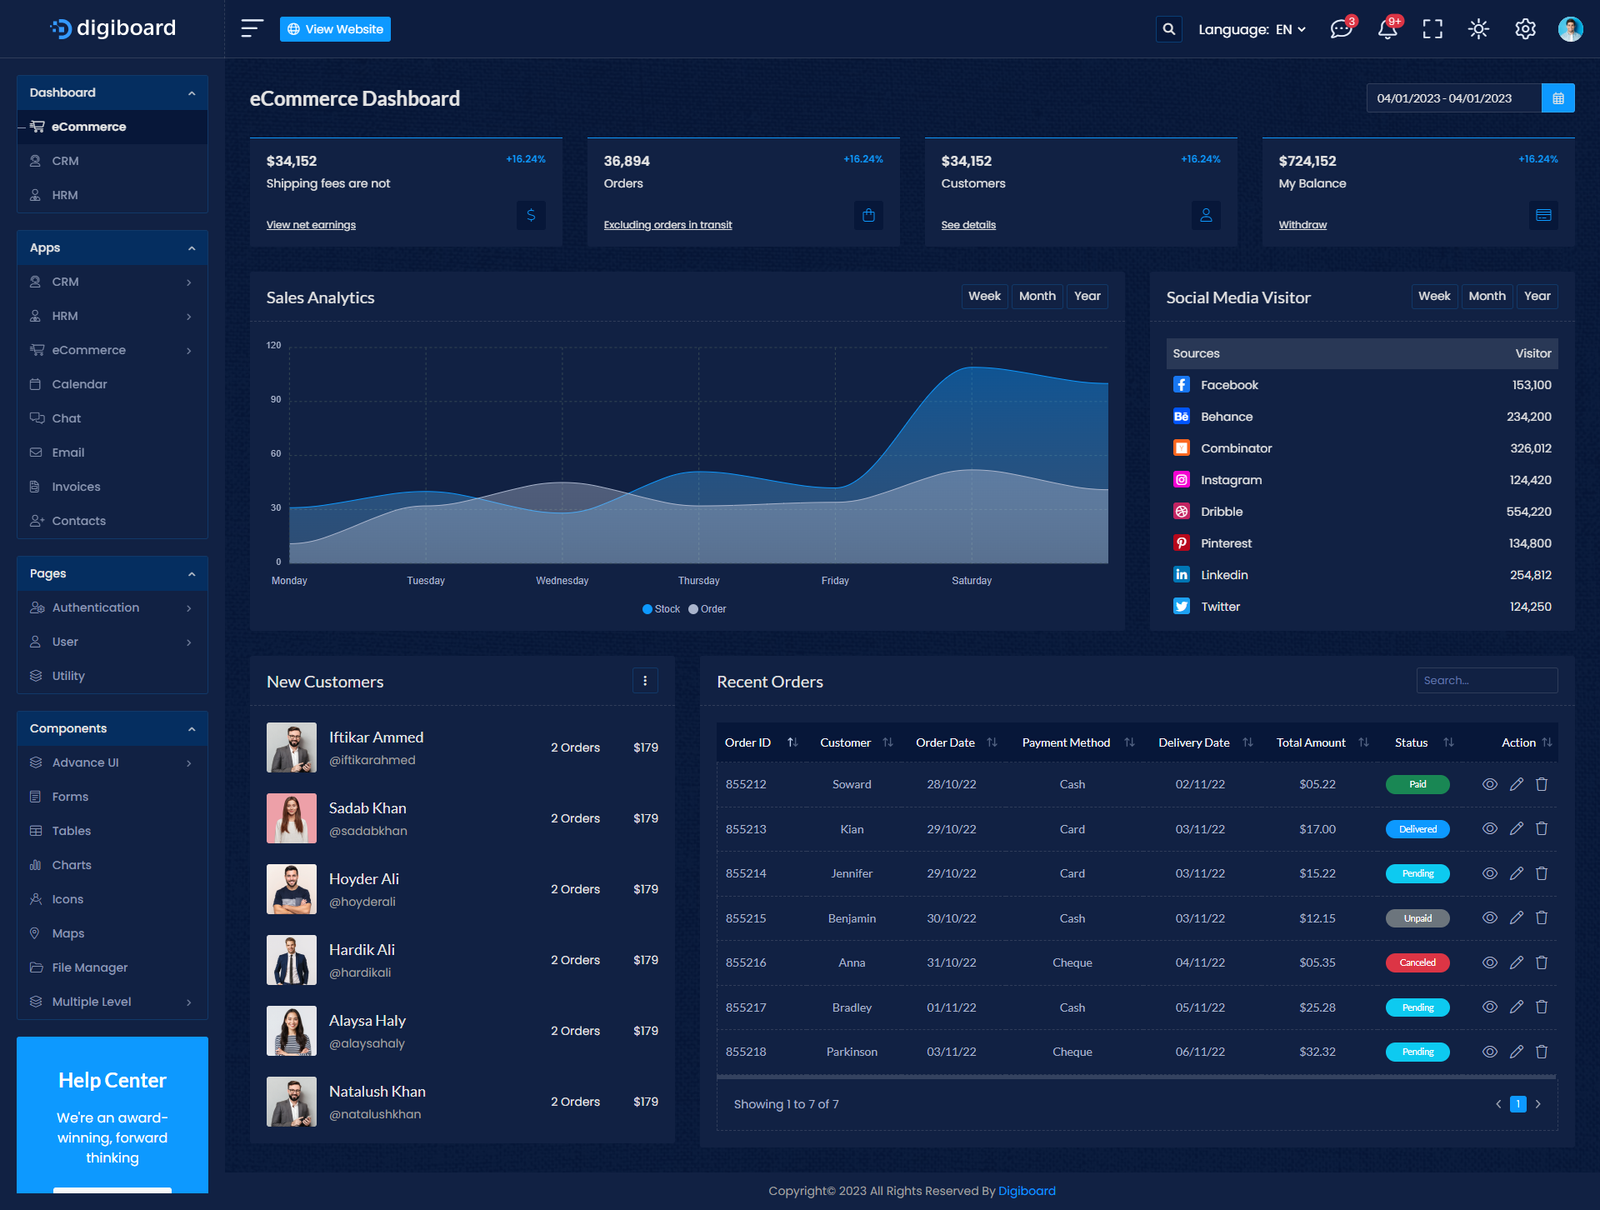
Digiboard Laravel
-
public
- assets
-
css
- blue-color.css
- deep_pink-color.css
- eagle_green-color.css
- gold-color.css
- green-color.css
- orange-color.css
- pink-color.css
- purple-color.css
- rtl-style.css
- style.css
- tea_green-color.css
- yellow_green-color.css
CSS Structure
.dropzone .dz-preview .dz-remove::after {
    content: "\f00d";
    font-family: "Font Awesome 6 Pro";
    font-weight: 500;
    position: absolute;
    top: 0;
    left: 0;
    width: 100%;
    height: 100%;
    line-height: 15px;
    background: #f00000;
    color: #f7faff;
    border-radius: 50%;
    font-size: 12px;
}
.dropzone .dz-preview .dz-details {
    padding: 10px;
    font-family: "Lato", sans-serif;
    font-size: 12px;
    min-height: 100%;
    display: -webkit-box;
    display: -ms-flexbox;
    display: flex;
    -webkit-box-orient: vertical;
    -webkit-box-direction: normal;
    -ms-flex-direction: column;
    flex-direction: column;
    -webkit-box-pack: center;
    -ms-flex-pack: center;
    justify-content: center;
}
SCSS
Digiboard has managed the scss file in the public/assets/scss folder. We have used Prepros for scss compilation. You can add your custom scss in the _global.scss file instead of adding in the style.scss or other scss files as it will create conflicts in future updates. And if you want to change or add anything about primary color then you can change into any color scss file like blue-color.scss as follows
Digiboard Admin
-
public
- assets
-
scss
-
main
- _animation.scss
- _chart.scss
- _global.scss
- _responsive.scss
- _variable.scss
-
Sections
- _header.scss
- _main-content.scss
- _right-sidebar.scss
- _sidebar-menu.scss
- blue-color.scss
- deep_pink-color.scss
- eagle_green-color.scss
- gold-color.scss
- green-color.scss
- orange-color.scss
- pink-color.scss
- purple-color.scss
- rtl-style.scss
- style.scss
- tea_green-color.scss
- yellow_green-color.scss
-
main
SCSS Structure
.main-sidebar {
    position: fixed;
    top: 0;
    left: 0;
    bottom: 0;
    width: 270px;
    padding-top: 70px;
    background-color: $color-2;
    z-index: 11;
    &.horizontal-menu {
        top: 70px;
        bottom: auto;
        width: 100%;
        padding: 0;
        .sidebar-item {
            font-weight: 400;
            position: relative;
            margin-bottom: 0;
            border: 0;
            .sidebar-dropdown-item {
                .sidebar-link {
                    color: $white-7;
                    padding-left: 15px;
                    &.active {
                        background: rgba($black, .2);
                        font-weight: 400;
                        &::after {
                            background: $white;
                        }
                    }
                    .nav-icon {
                        display: none;
                    }
                    &:hover {
                        background: rgba($black, .2);
                    }
                }
            }
        }
    }
JavaScript
We have added all layouts files in the 'public/assets/js' folder. Most of the script written in main.js file. While for few pages and plugins some script written in different js file. Like add-product.js contains some important script for add product page in eCommerce app, and calendar-init.js for event calendar intialization.
Digiboard Admin
-
public
- assets
-
js
- add-product.js
- calendar-init.js
- category.js
- chart-page.js
- dashboard.js
- dropzone-init.js
- email.js
- main.js.js
- order-list.js
- select2-init.js
- sortable-js-init.js
- sweet-alert-init.js
Javascript Structure
//------------------------------------------------------------------------------------------------------------------
    // Template Right Sidebar Option
    //------------------------------------------------------------------------------------------------------------------
    $(function () {
        $('.theme-settings-btn').on('click', function (e) {
            $('.right-sidebar').addClass('active');
            $('body').addClass('overflow-hidden');
            e.stopPropagation()
        });
        $(document).on('click', function (e) {
            if ($(e.target).is('.right-sidebar *') === false) {
                $('.right-sidebar').removeClass('active');
                $('body').removeClass('overflow-hidden');
            }
        });
    });
    $('.right-bar-close').on('click', function () {
        $('.right-sidebar').removeClass('active');
        $('body').removeClass('overflow-hidden');
    });
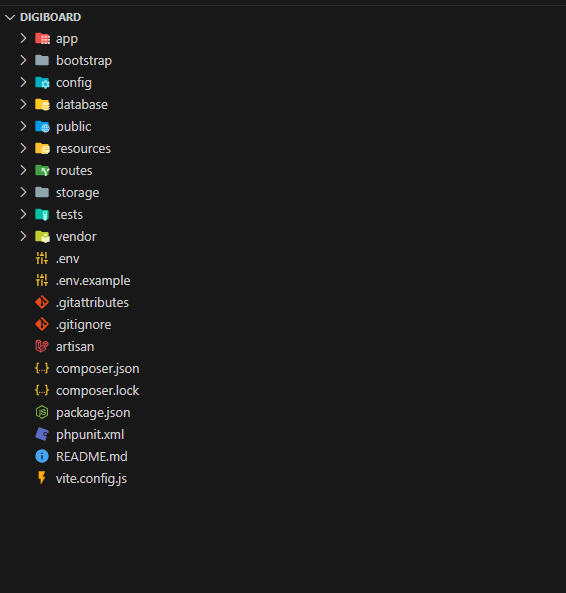
Laravel
Here is the guide to Digiboard Laravel how to customization.
This guide shows you how to a Laravel project including styling and personalization. You can then customize this project to fit the requirements for your web app. his guide uses Laravel 10 as a PHP web app framework. Before customization Digiboard Laravel project, you should ensure that your local machine has PHP and Composer installed. If you are developing on macOS, PHP and Composer can be installed via Homebrew. In addition, we recommend installing Node and NPM. If you want to learn more about how to install Laravel for your system, check out the Laravel docs. Open your Laravel project with your preferred code editor.
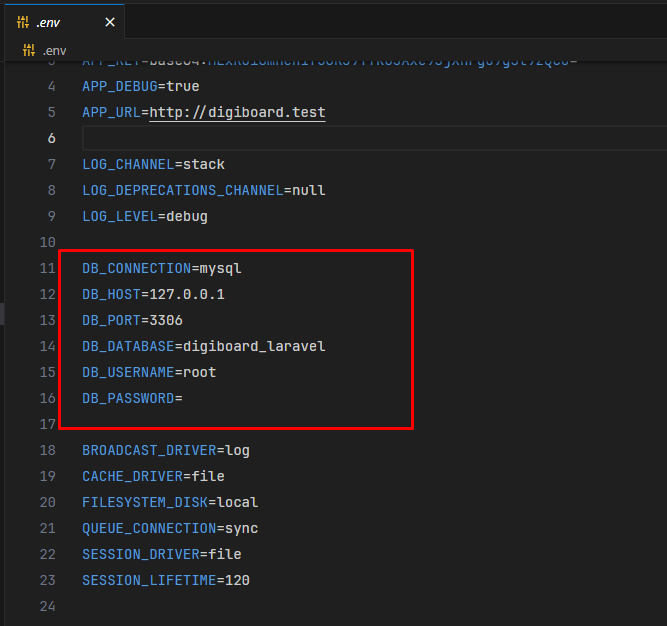
After environment setup. Create a database creadentials and put in the project .env file.
Then run open terminal and run the migration and seed command
php artisan migrate --seed
Now run your application in browser. you'll see the Login page of Digiboard. Enter the login creadentials. Default login creadentials is
email: admin@gmail.com password: 12345678enter this and hit the submit button.